| September 2004 |
|
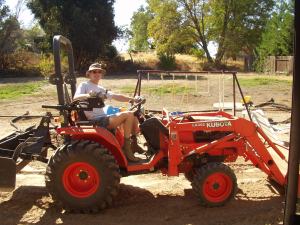
I rented a Kubota tractor for about $225. It took me about three hours of learning the controls
before I became proficient (could operate several functions at the same time) at moving dirt where
I wanted it. Sure I could have paid someone to do it for me, but you haven't lived until you driven
one of these things. I moved a lot of the dirt with the bucket and then spread it across the top of
the lot with the box grader. The box grader is the most useful piece on the tractor. I also filled
some holes in the backyard and scraped up the remains of the blackberry bushes and fallen tree.
|
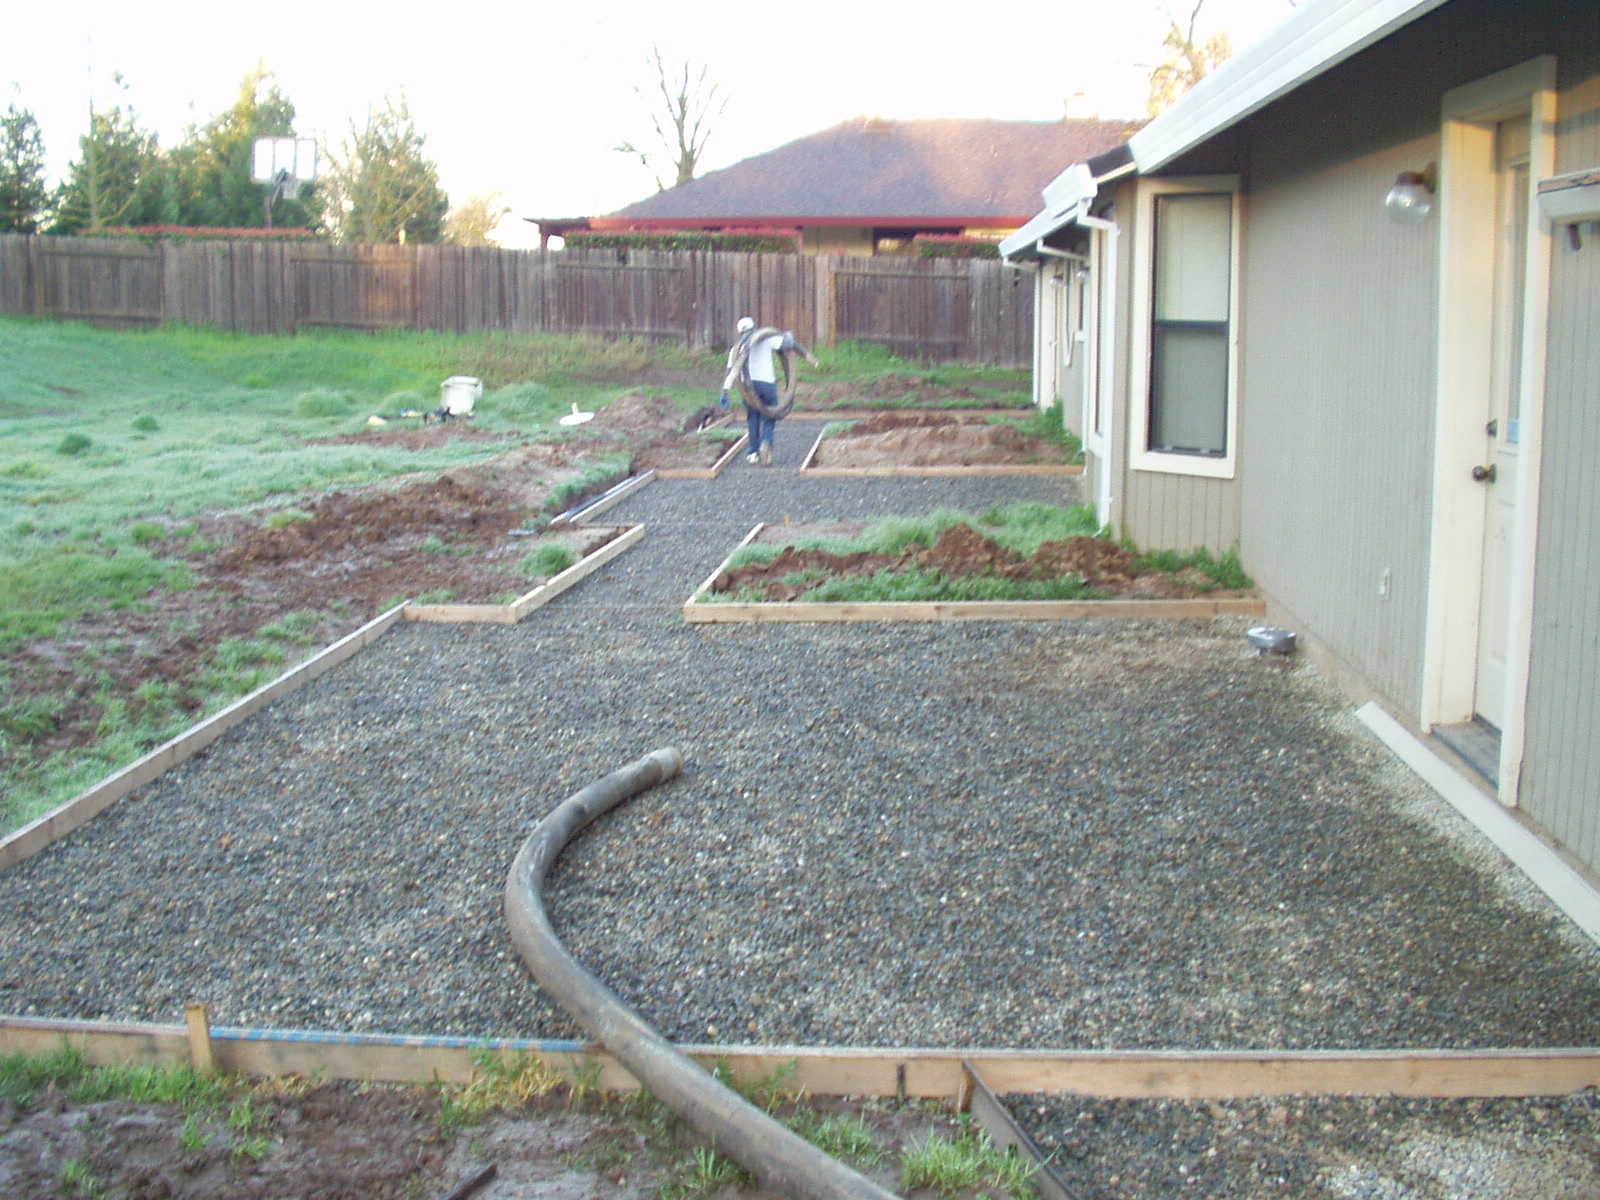
| November 15 2005 |
|
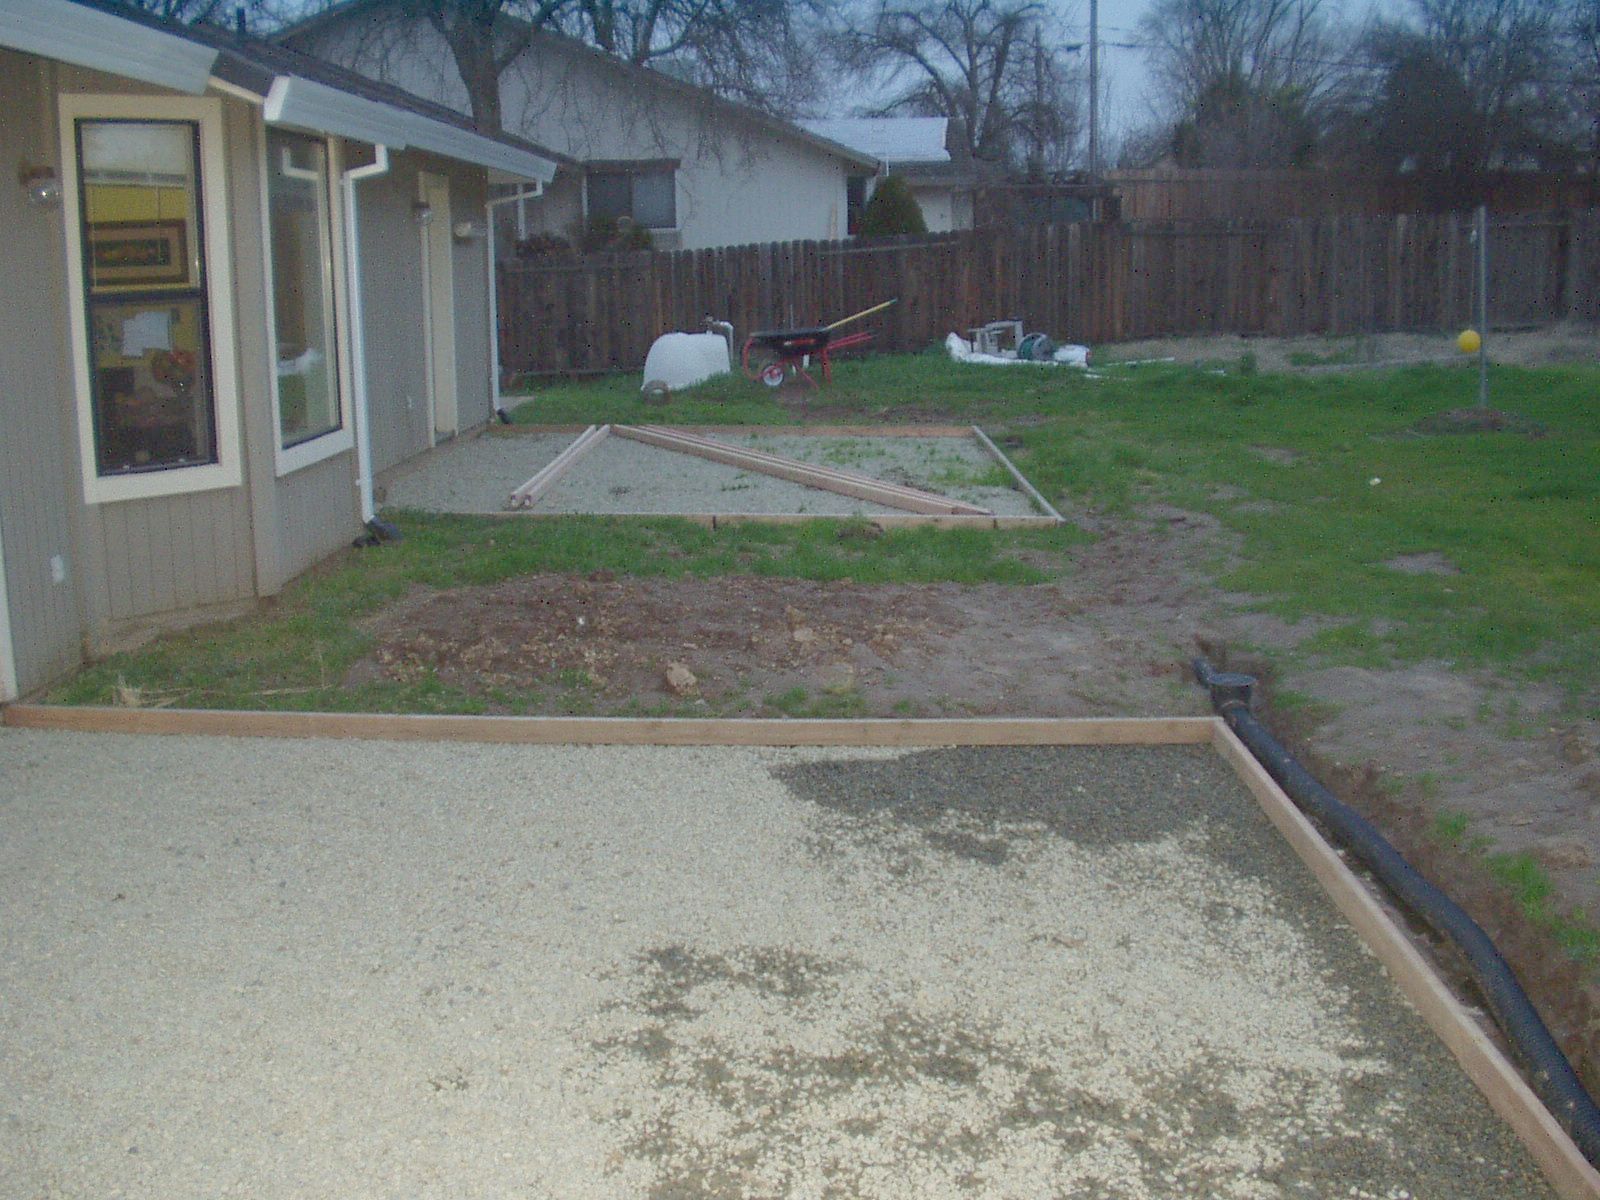
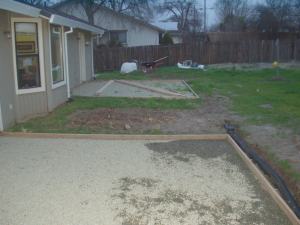
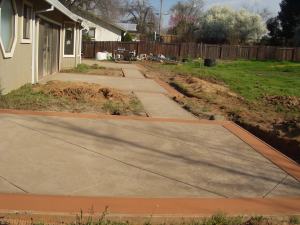
One of the few pictures I have of the forms being layed out.
I did this mostly after work, so it was often dark. The concrete was only poured 3.5"-4" deep.
If I had to do it over again, I'd pour it thicker.
|
| February 23 2005 |

|
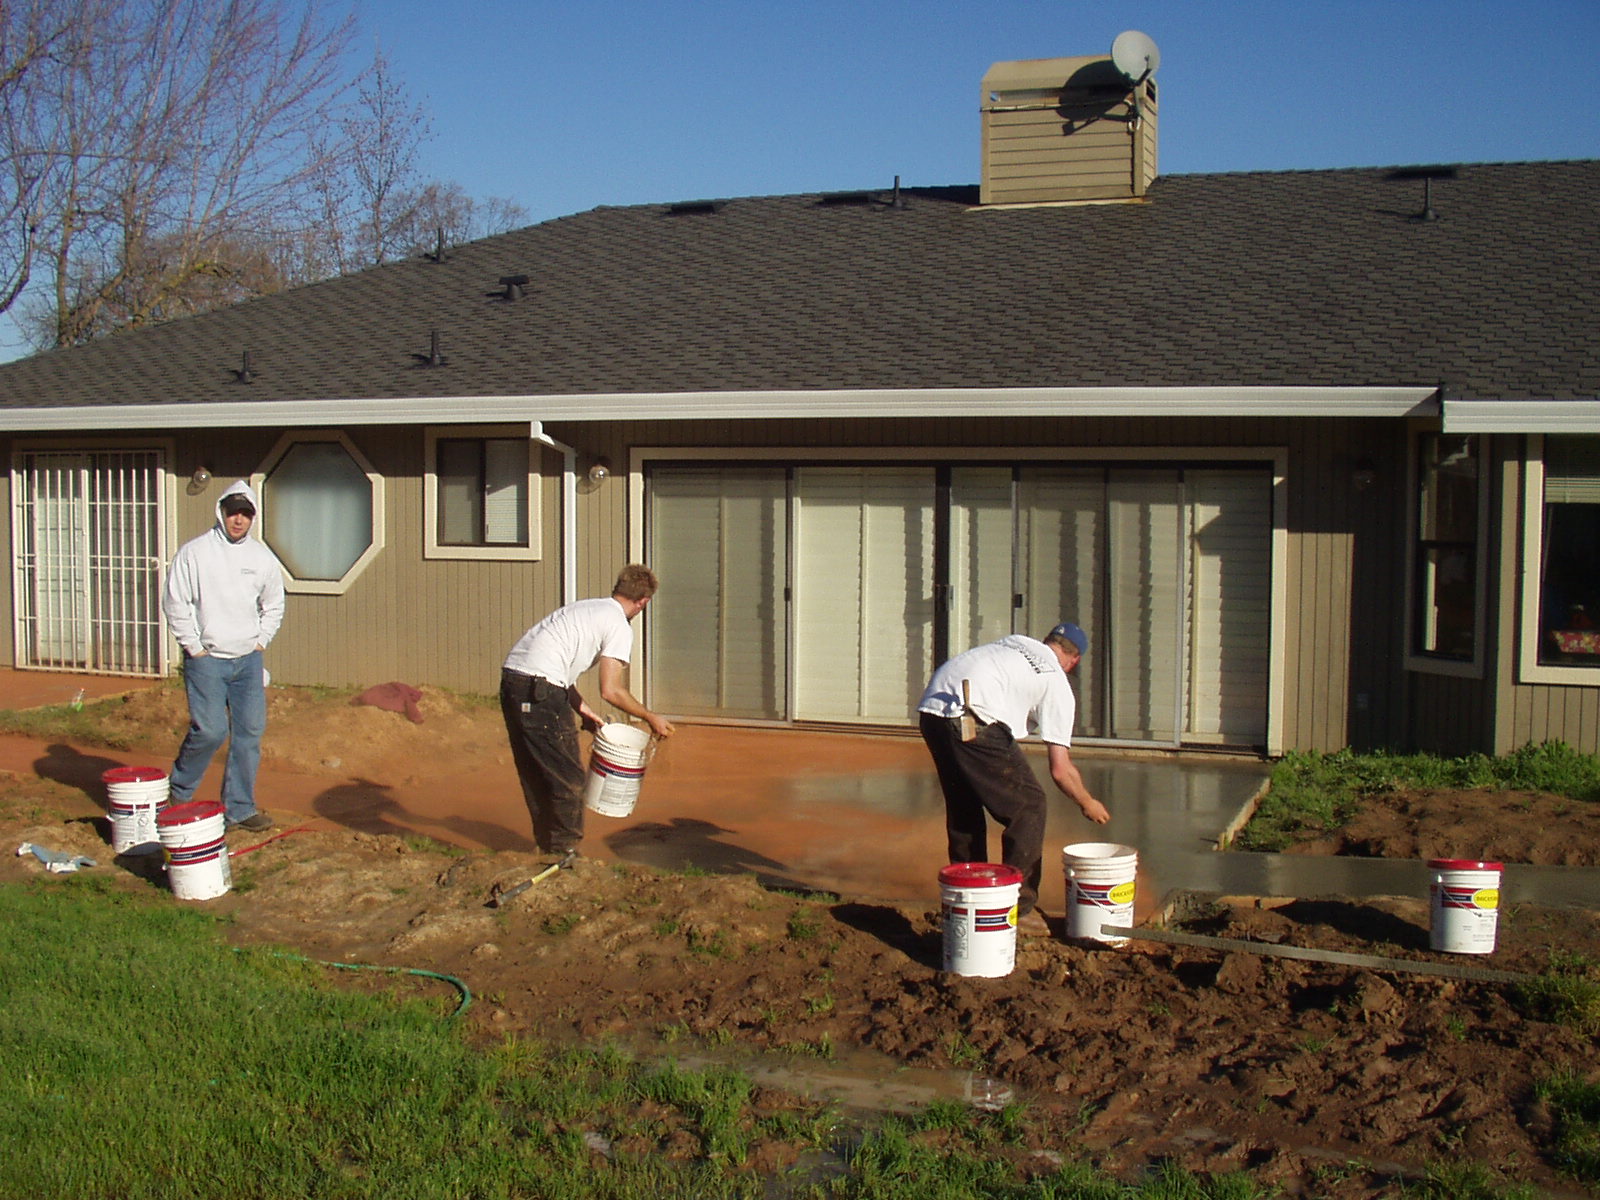
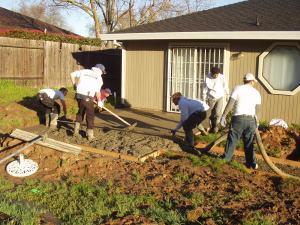
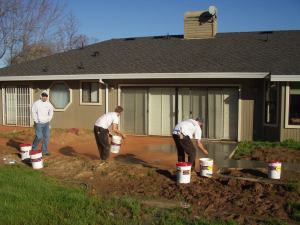
6:45 a.m. Capitol Concrete and Curb arrives to check the site and forms. They
had previously checked my work when I had them come out for an estimate. They snapped some lines
across the foundation and tacked expansion strips to the existing concrete.
6:50 a.m. Orangevale Ready Mix arrives and the pour is scheduled for 7:30 a.m.
The Concrete pumping equipment is laid out and connected up.
7:30 a.m. Concrete mixing starts.
|
| February 23 2005 |
|
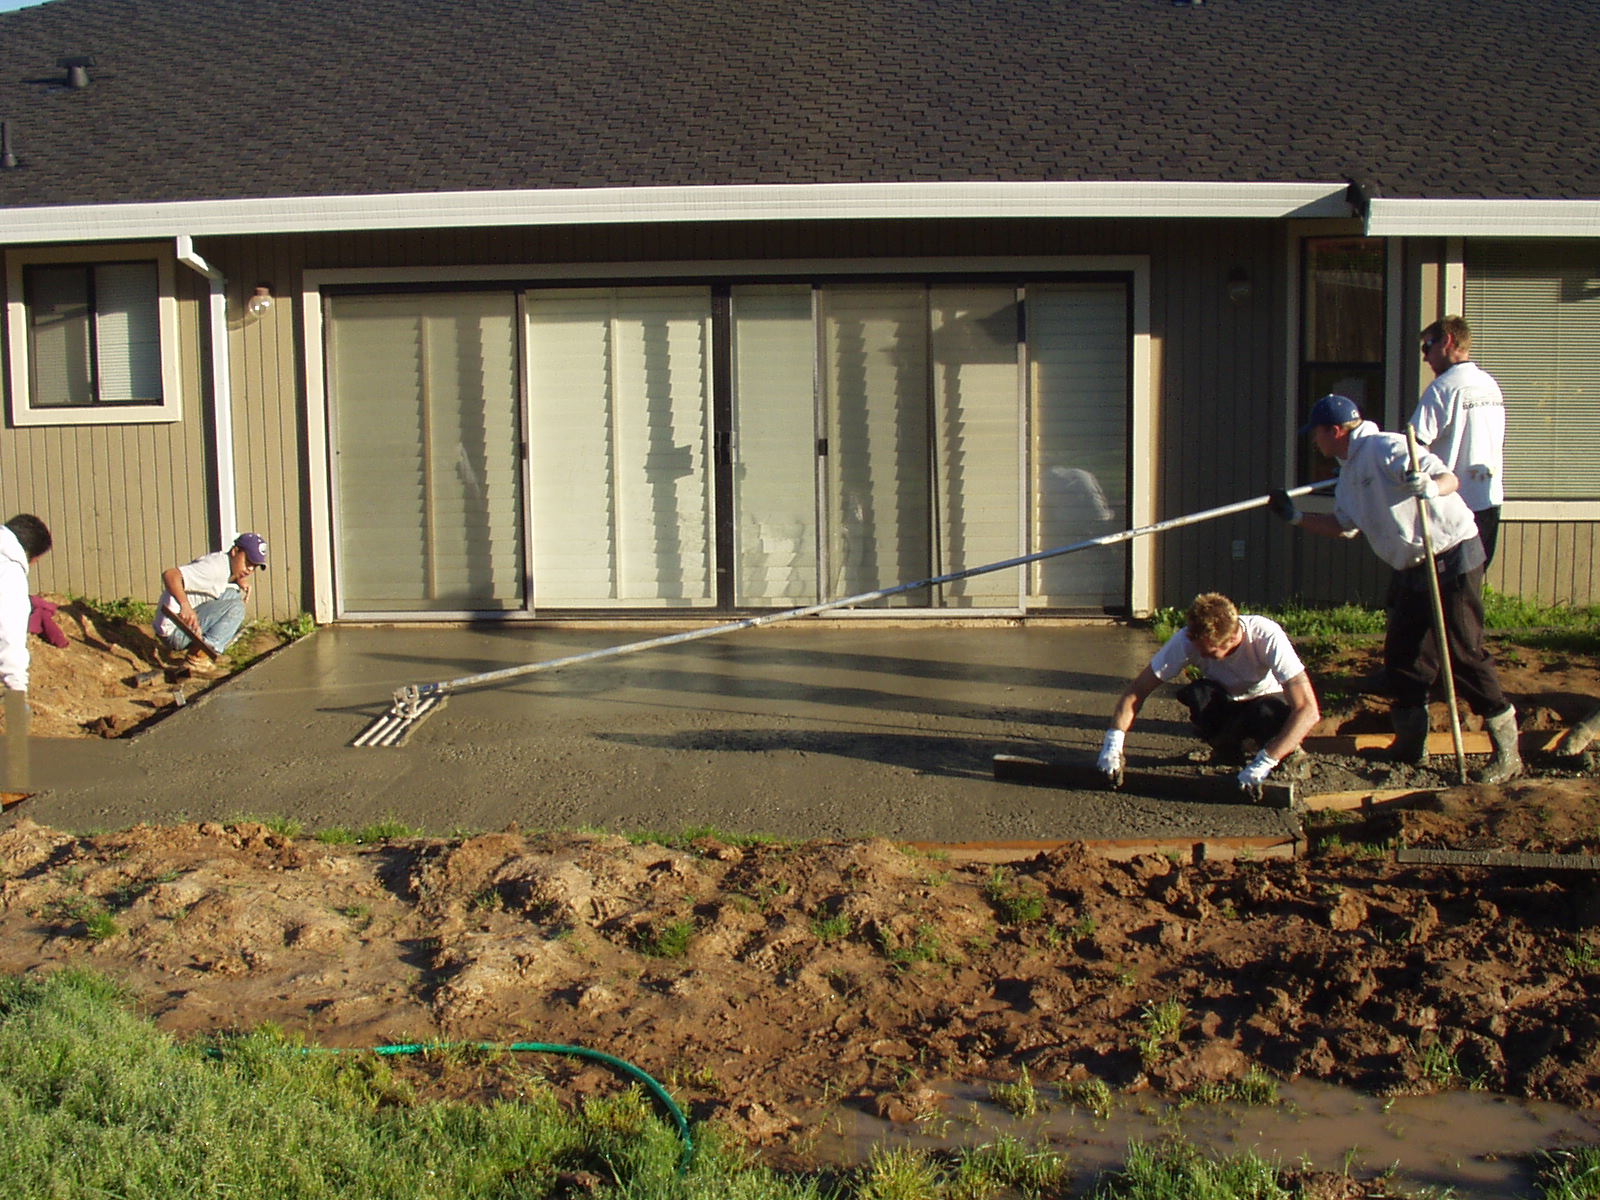
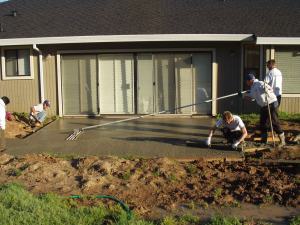
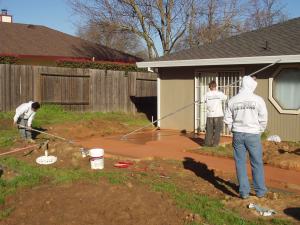
8:00 a.m. Concrete is pumped into the forms. The concrete is Trowelled into
the corners and packed against the sides of the forms. They screeded the surface as they went,
rather than screeding it out over the edges of the forms like I have in the past. I don't think
*any* concrete went over the top.
|
| February 23 2005 |
|
The edges are floated by hand from the sides, while the centers are bull floated.
|
| February 23 2005 |
|
Pumping, screeding, and floating
|
| February 23 2005 |
|
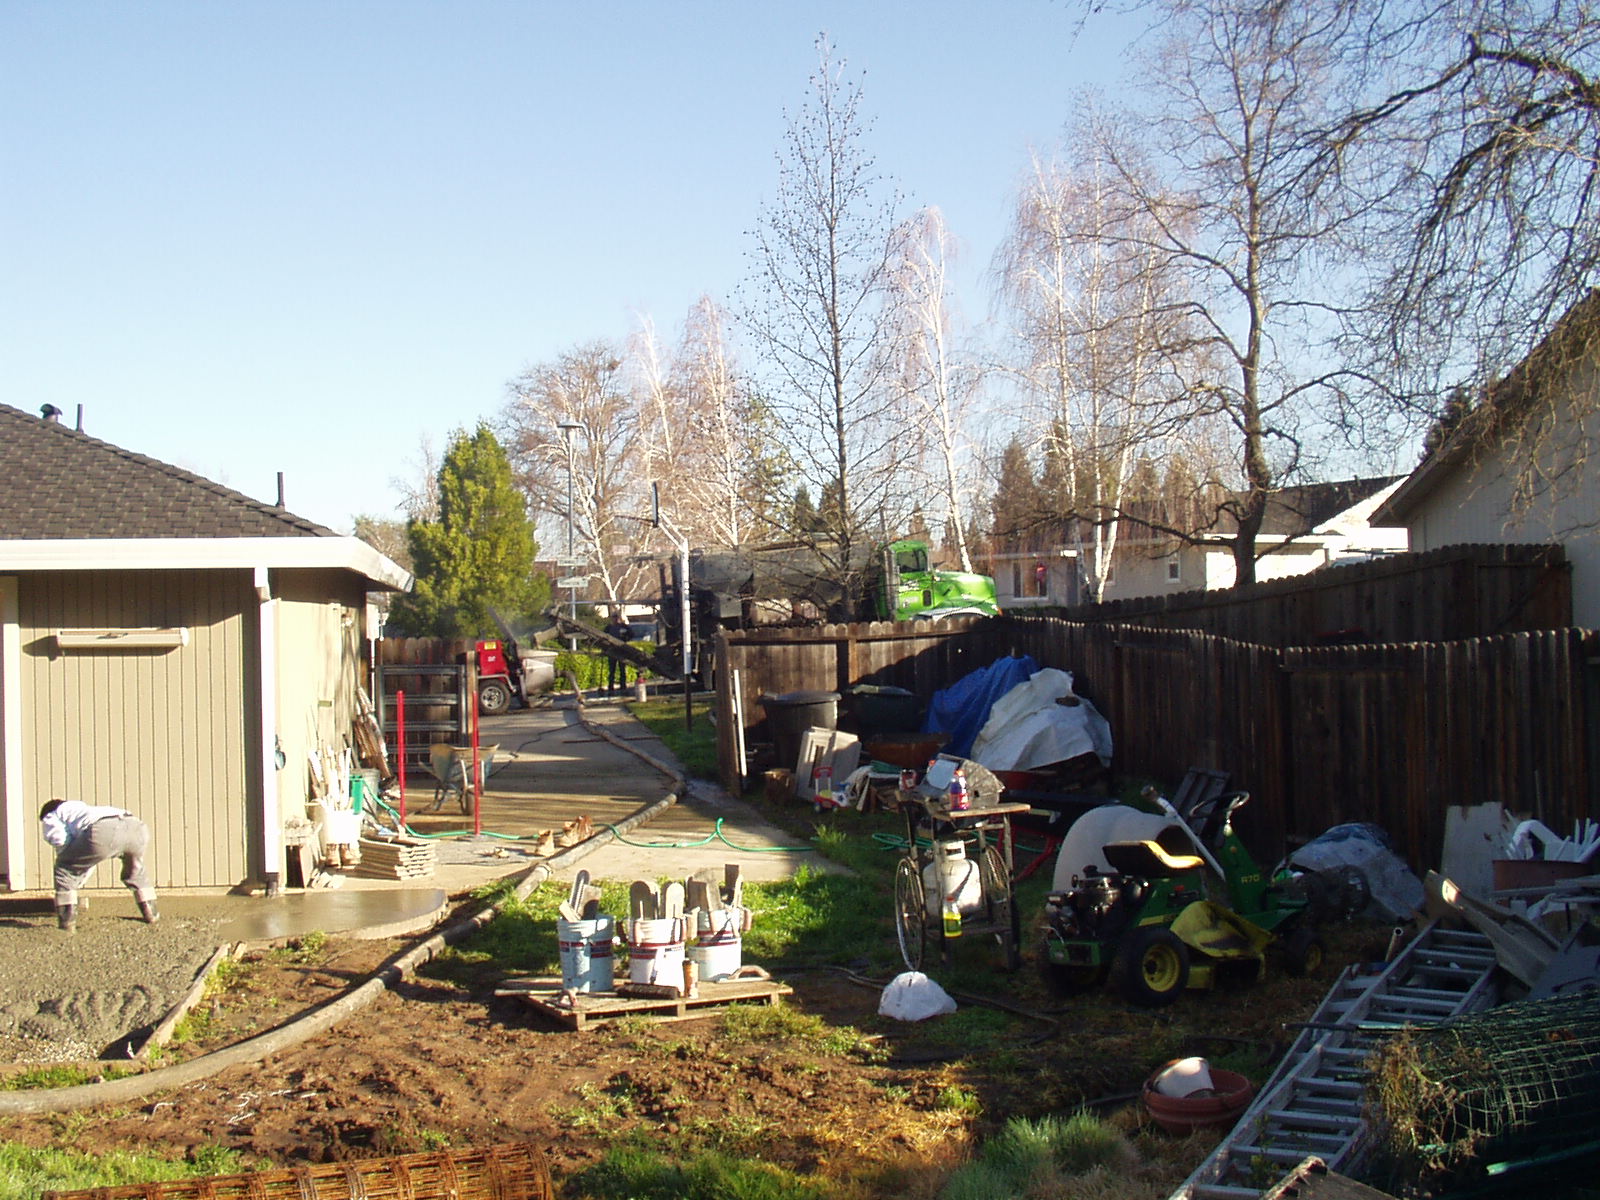
The concrete was mixed on-site and two trucks of dry ingredients were required for this pour.
|
| February 23 2005 |

|
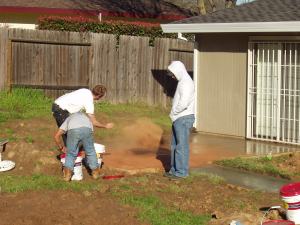
9:00 a.m. CC&C starts spreading the Brickform Sunbaked Clay color hardener that
will form the base color of the slabs.
|
| February 23 2005 |
|
We could have also used an integral mix color, however, CC&C finds that the color comes out
more evenly when applied to the top. Integral mix also costs more, but if it chips, the mix color
is exposed, rather than the plain gray concrete color.
|
| February 23 2005 |
|
Spreading color hardener
|
| February 23 2005 |
|
Dispersing more color hardener. An additional layer of color hardener is added after
the first is worked in.
|
| February 23 2005 |

|
The color hardener is bull floated into the top 1/8" of the concrete.
|
| February 23 2005 |
|
The colored concrete is then steel troweled to a fine finish using pole extensions.
The slabs are also being edged.
|
| February 23 2005 |
|
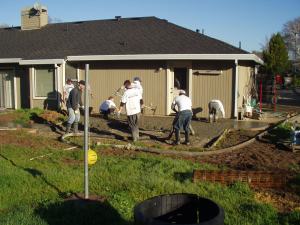
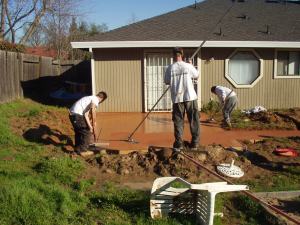
9:30 a.m. The site foreman lays out pattern using a tape measure. Then
control joints are cut using a 2-1/2" jointer. Since the whole pattern is being cut with
the jointer, the concrete should crack along the joints and minimize face cracking.
|
| February 23 2005 |
|
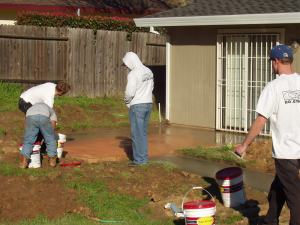
It's pretty muddy. It had been raining several days before.
|
| February 23 2005 |
|
The inner diamonds were cut after snapping lines across the slab at 4 foot intervals.
After the pattern is jointed in, the surface is steel troweled again. The surface
must be smooth and even before stamping.
9:45 a.m. More color hardener is thrown on thin spots and steel troweled
into the slab.
10:43 a.m. The slabs are steel troweled by hand using kneeboards.
At this point, CC&C appears to be waiting for the concrete to set. The outside temp reaches
about 80 degrees.
|
| February 23 2005 |

|
11:45 a.m. The Brickform Nutmeg Antique Color Release is spread and tamped
into the center of the slabs.
12:00 p.m. Random Roman Slate texture stamping begins. The slabs are
still being finish troweled, but it looks to be done.
|
| February 23 2005 |

|
Stamping
|
| February 23 2005 |

|
Stamping |
| February 23 2005 |

|
Stamping
|
| February 23 2005 |

|
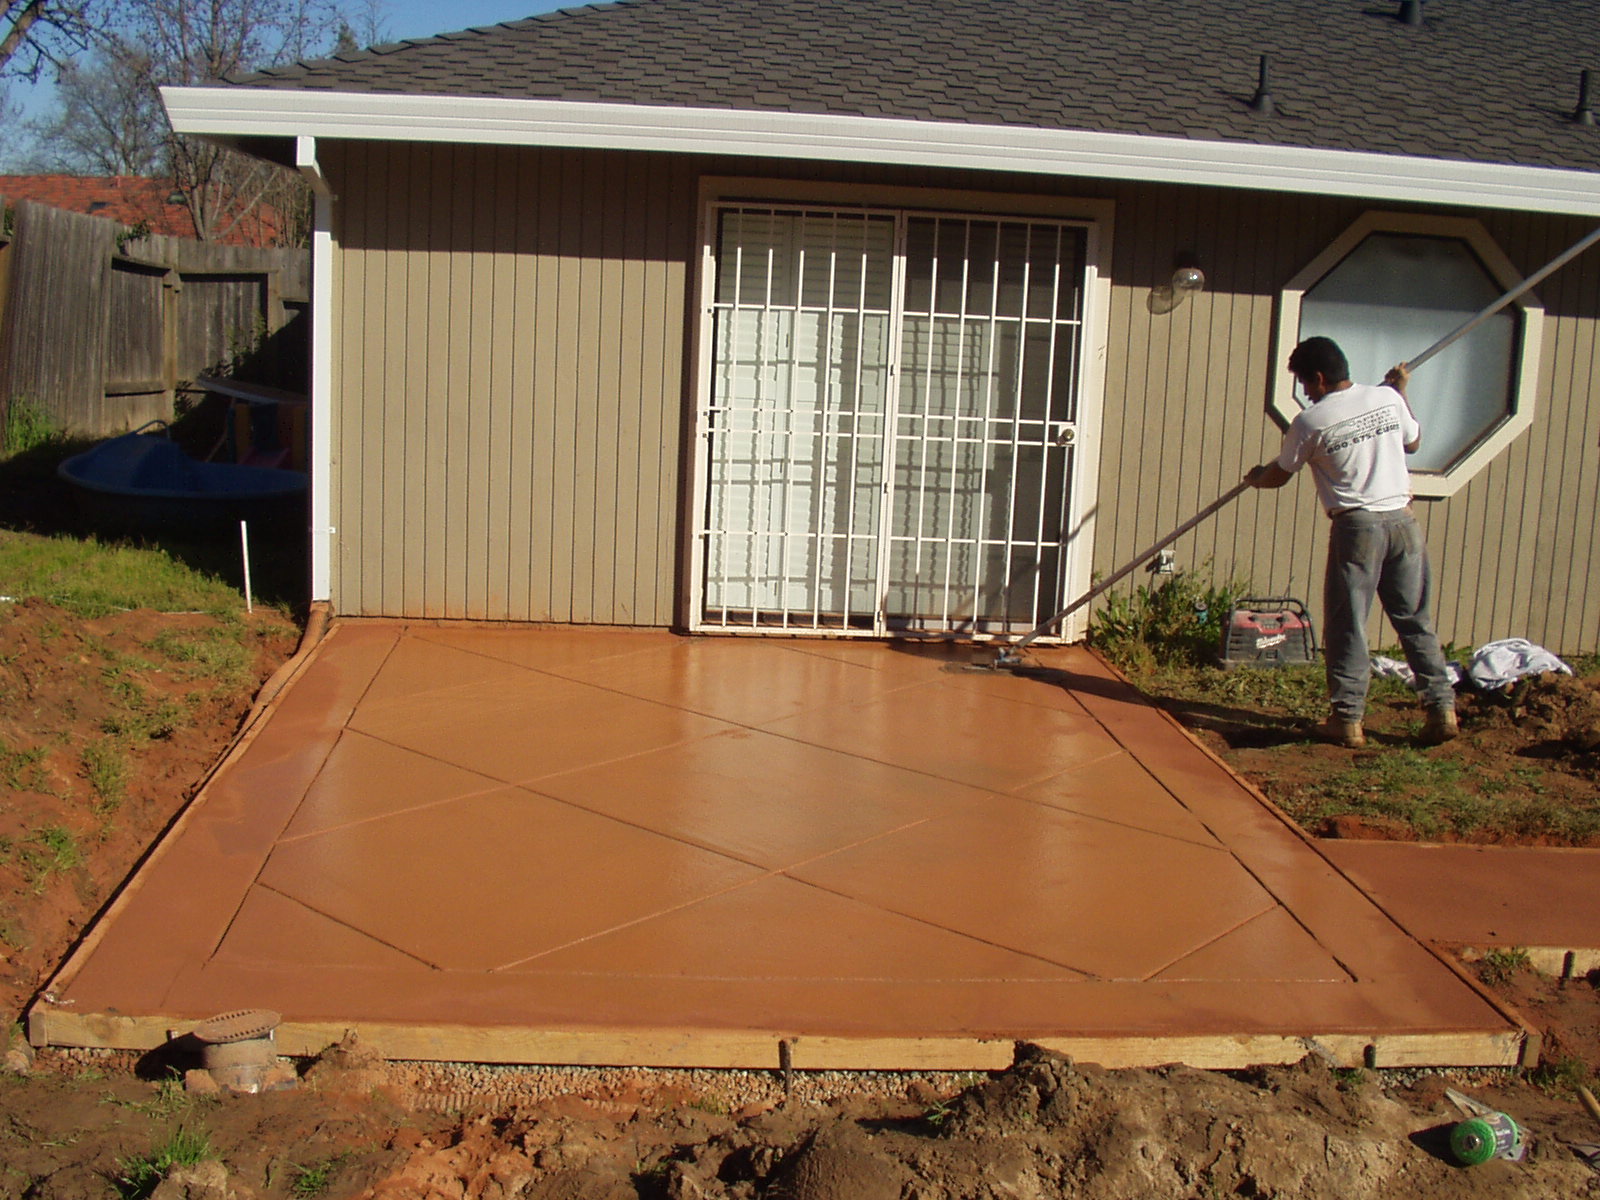
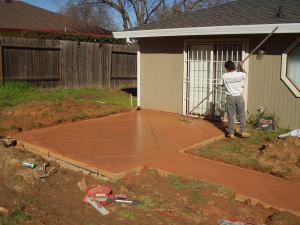
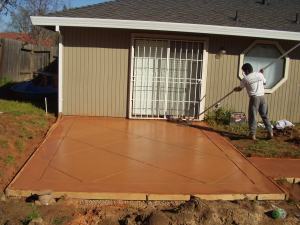
1:00 p.m. The Nutmeg color is removed from the borders using a wet brush.
1:50 p.m. The job is completed.
|
| February 23 2005 |
|
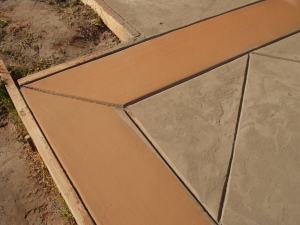
Close-up, border
|
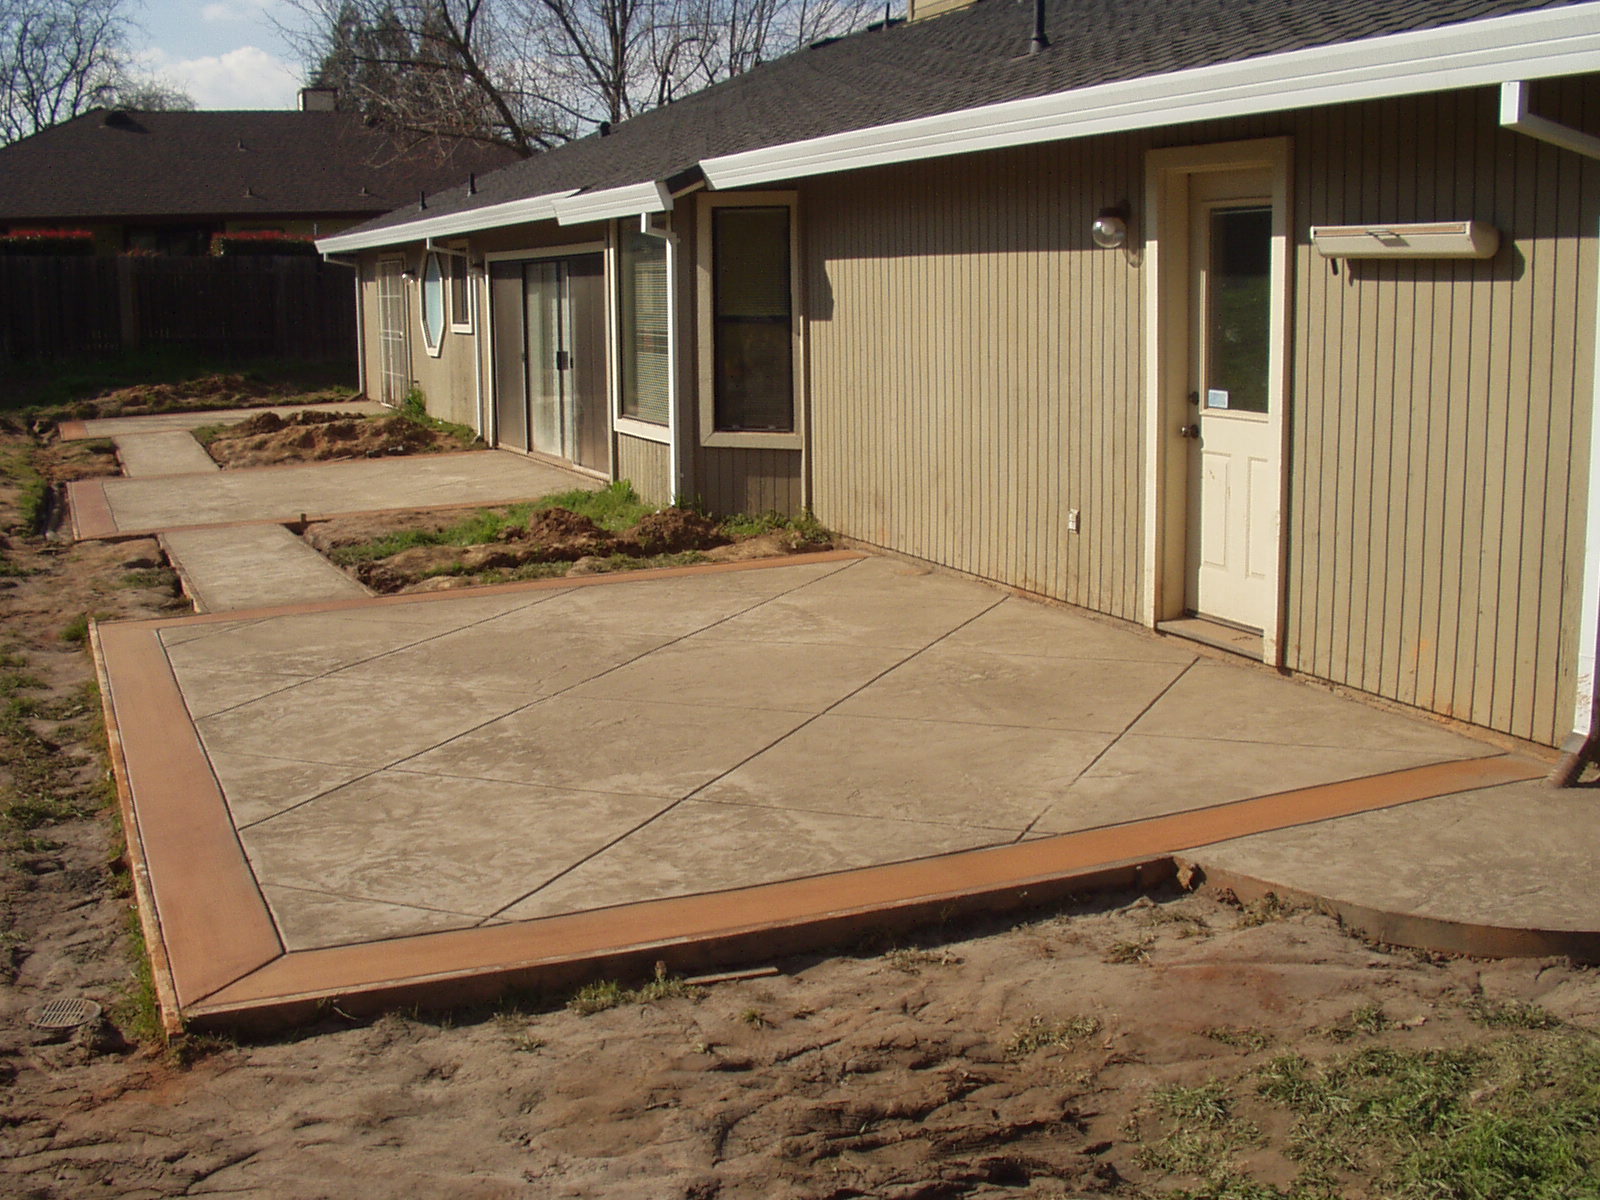
| February 23 2005 |
|
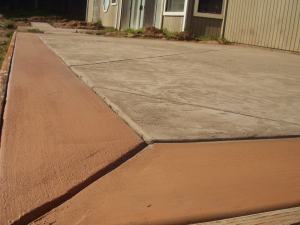
Finished, close-up, looking west
|
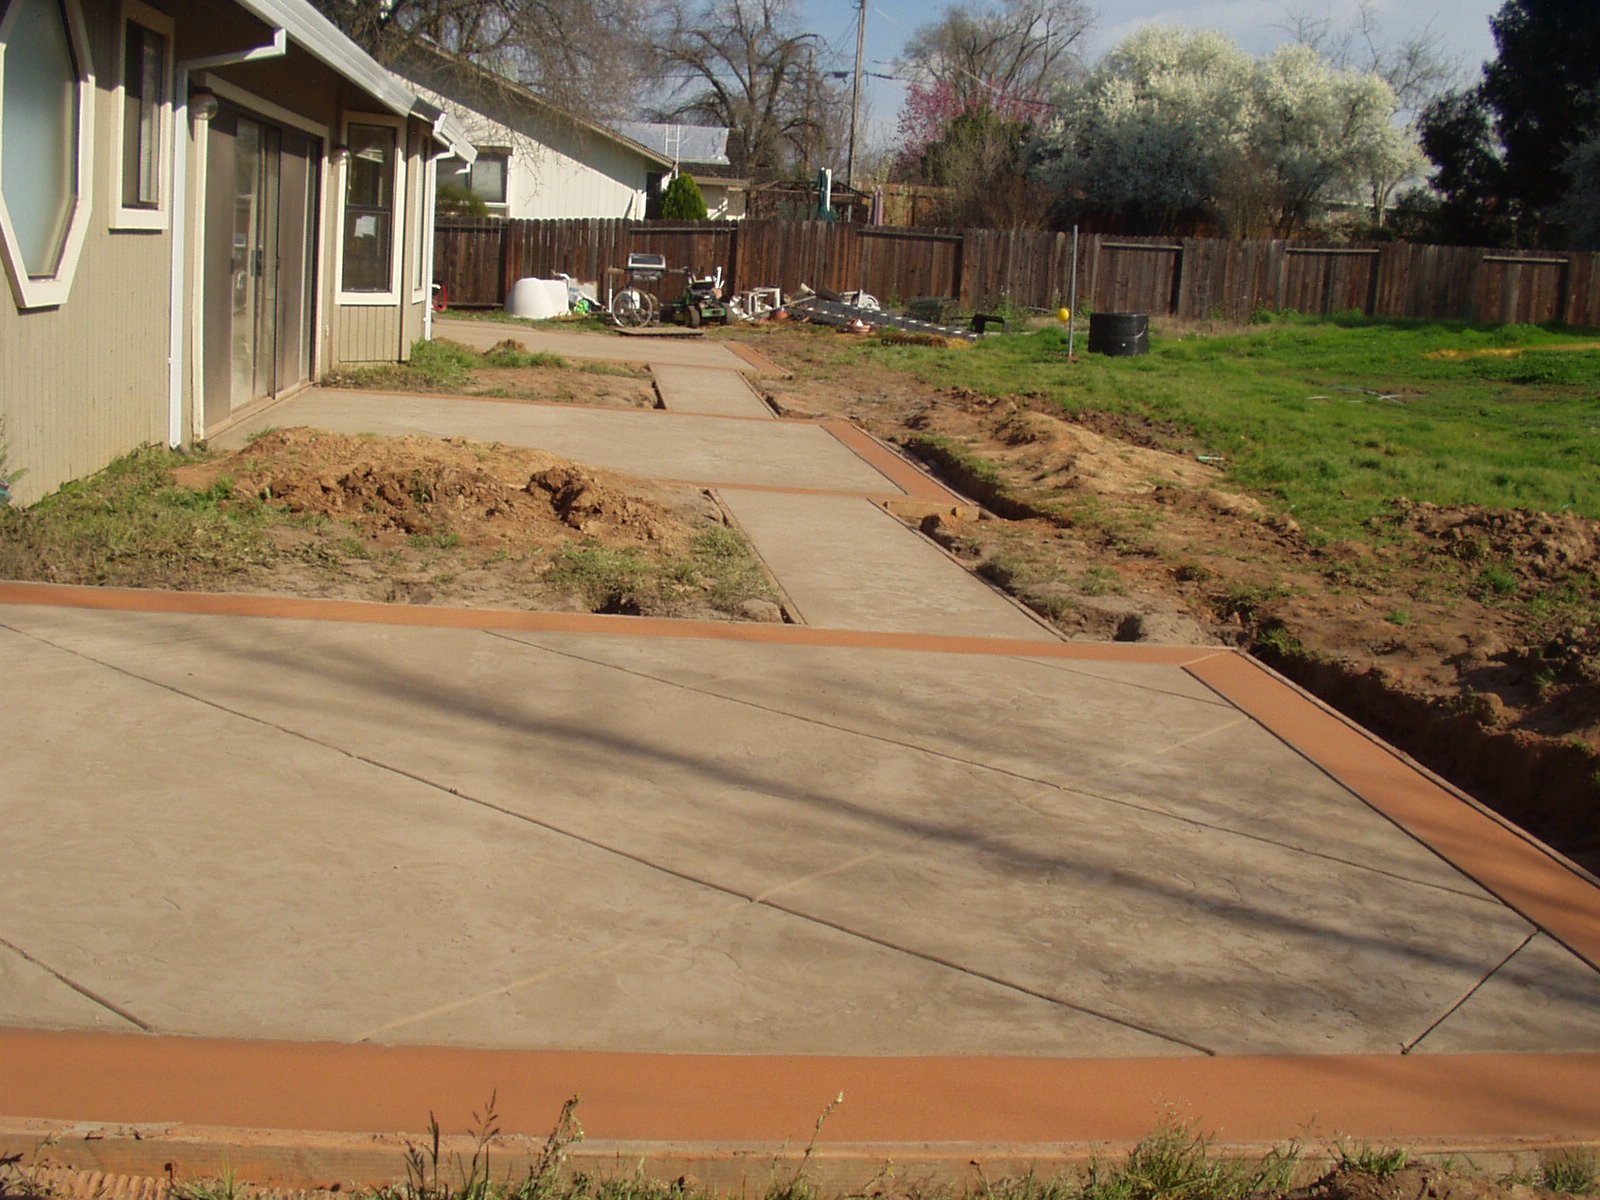
| February 23 2005 |
|
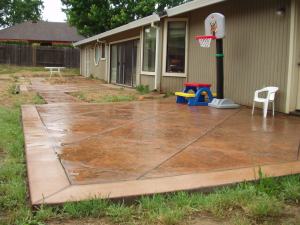
Finished, looking east. Now we wait for 30 days for the concrete to cure.
We are warned against washing the surface, so we must wait and see.
|
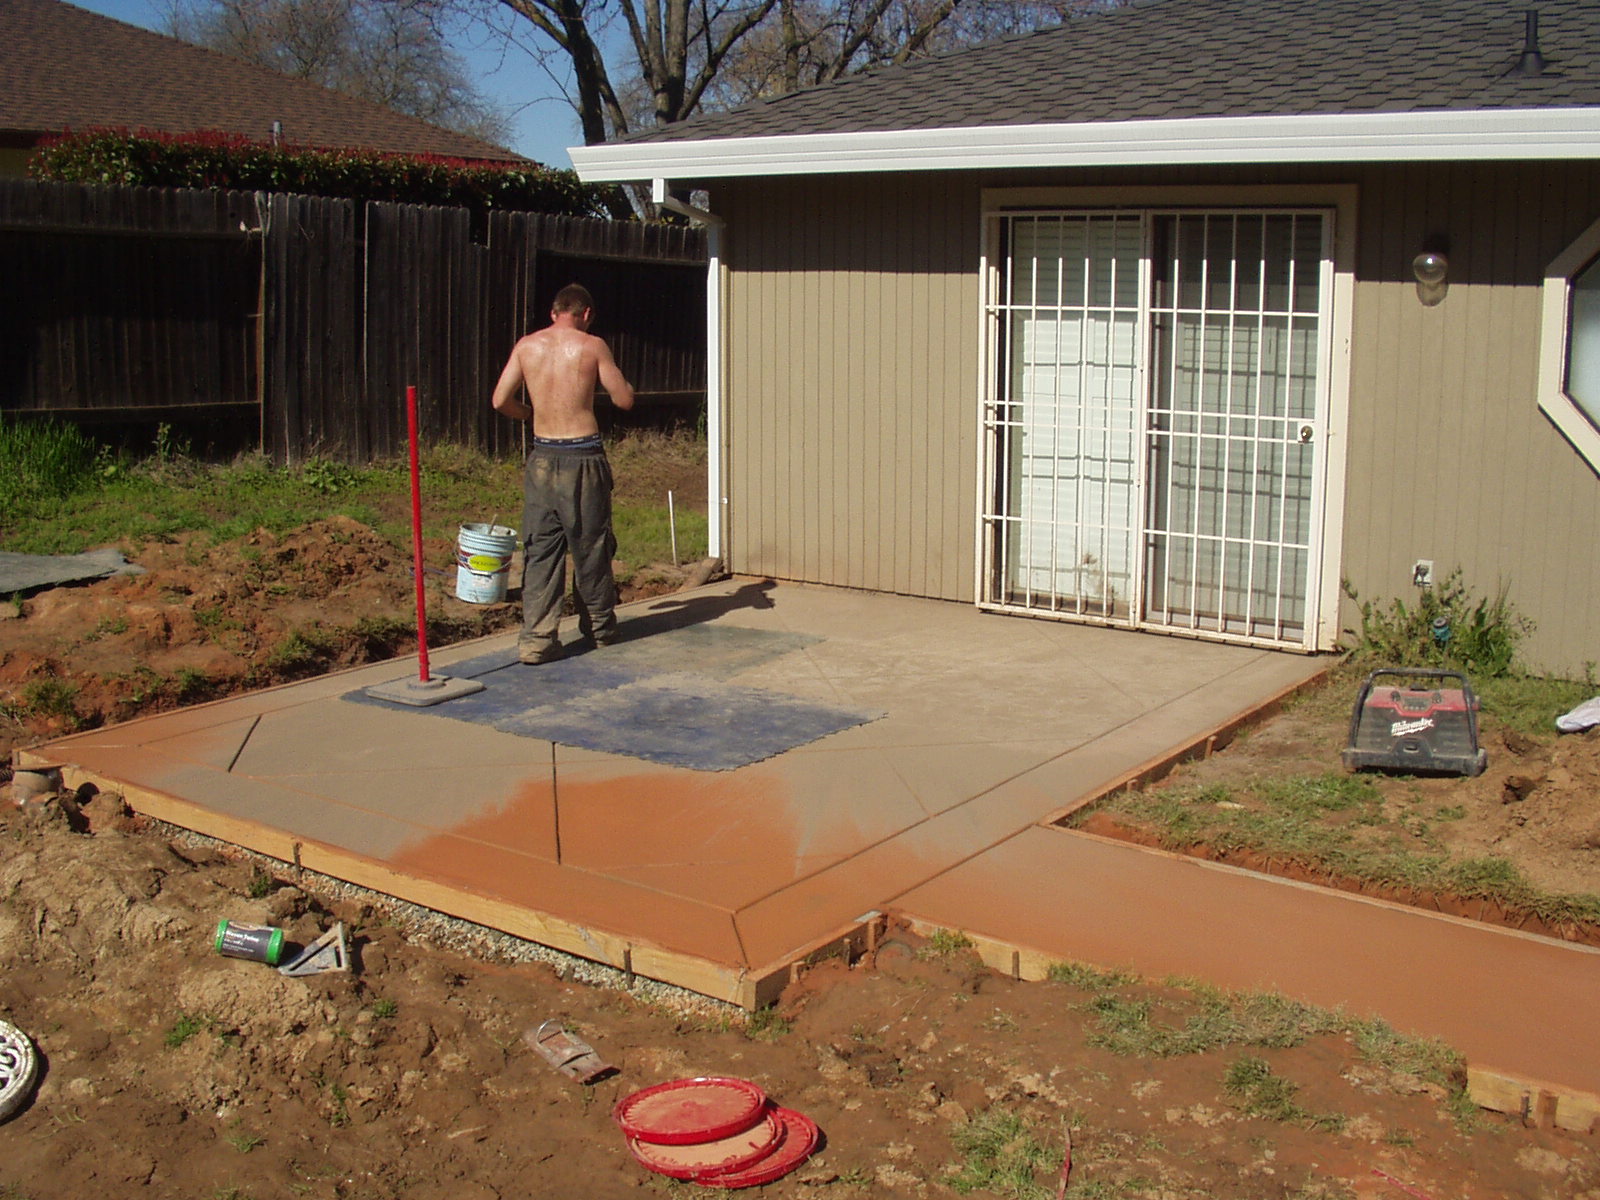
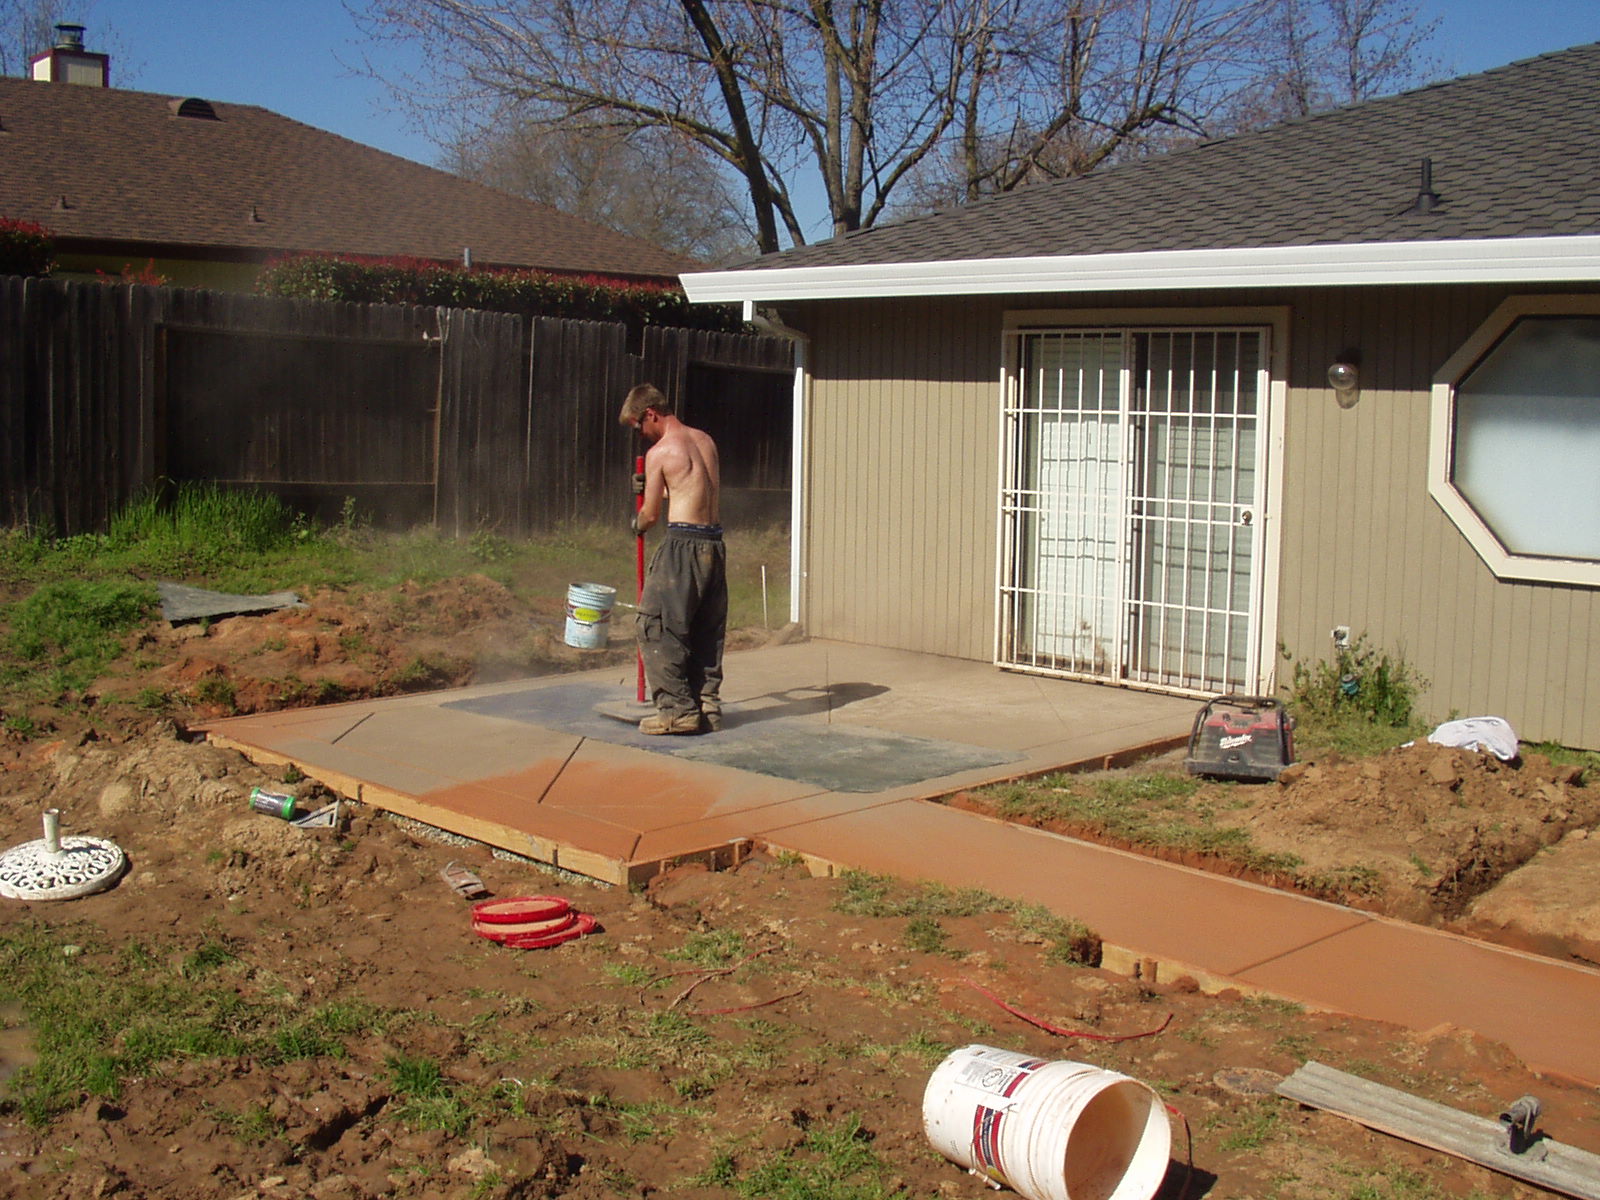
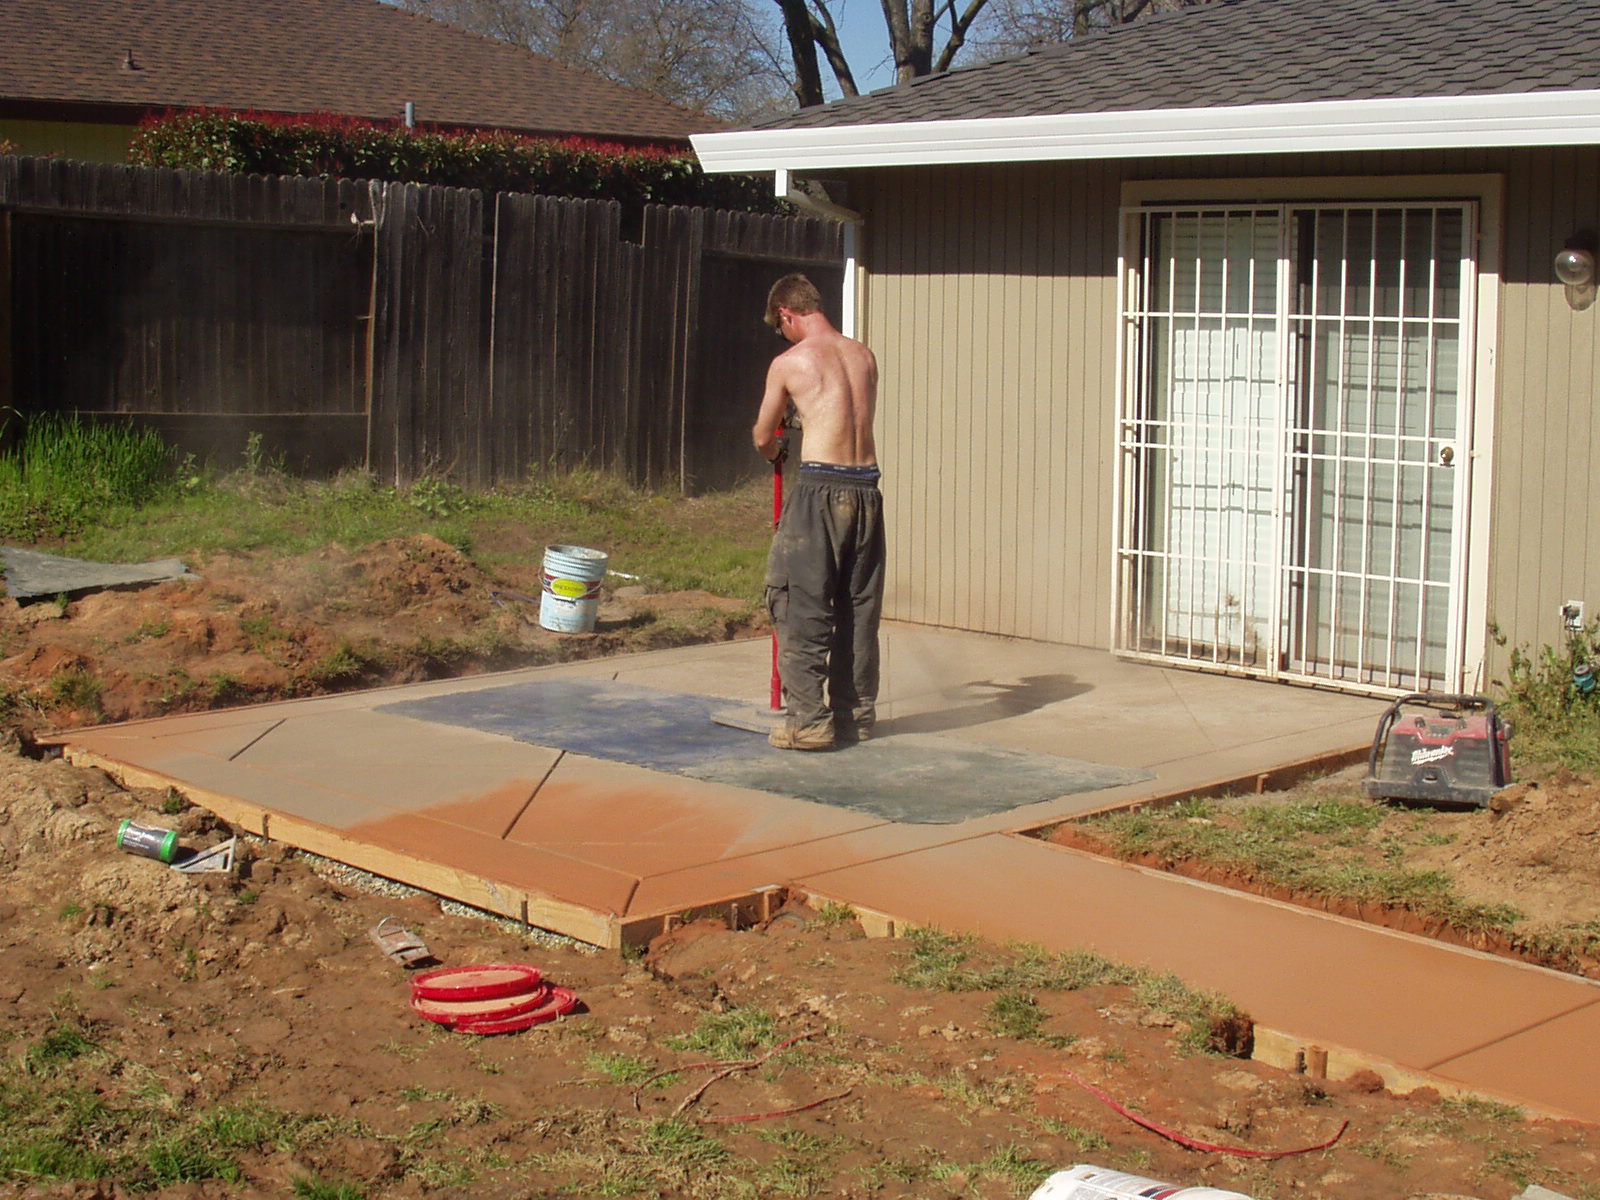
| May 18 2005 |
|
Finished, looking west. The nutmeg release is washed away using a power washer
and the surface is sealed. Some Rhino-grip is thrown into a deck sprayer with
the sealer to provide traction when wet. It works very well.
|
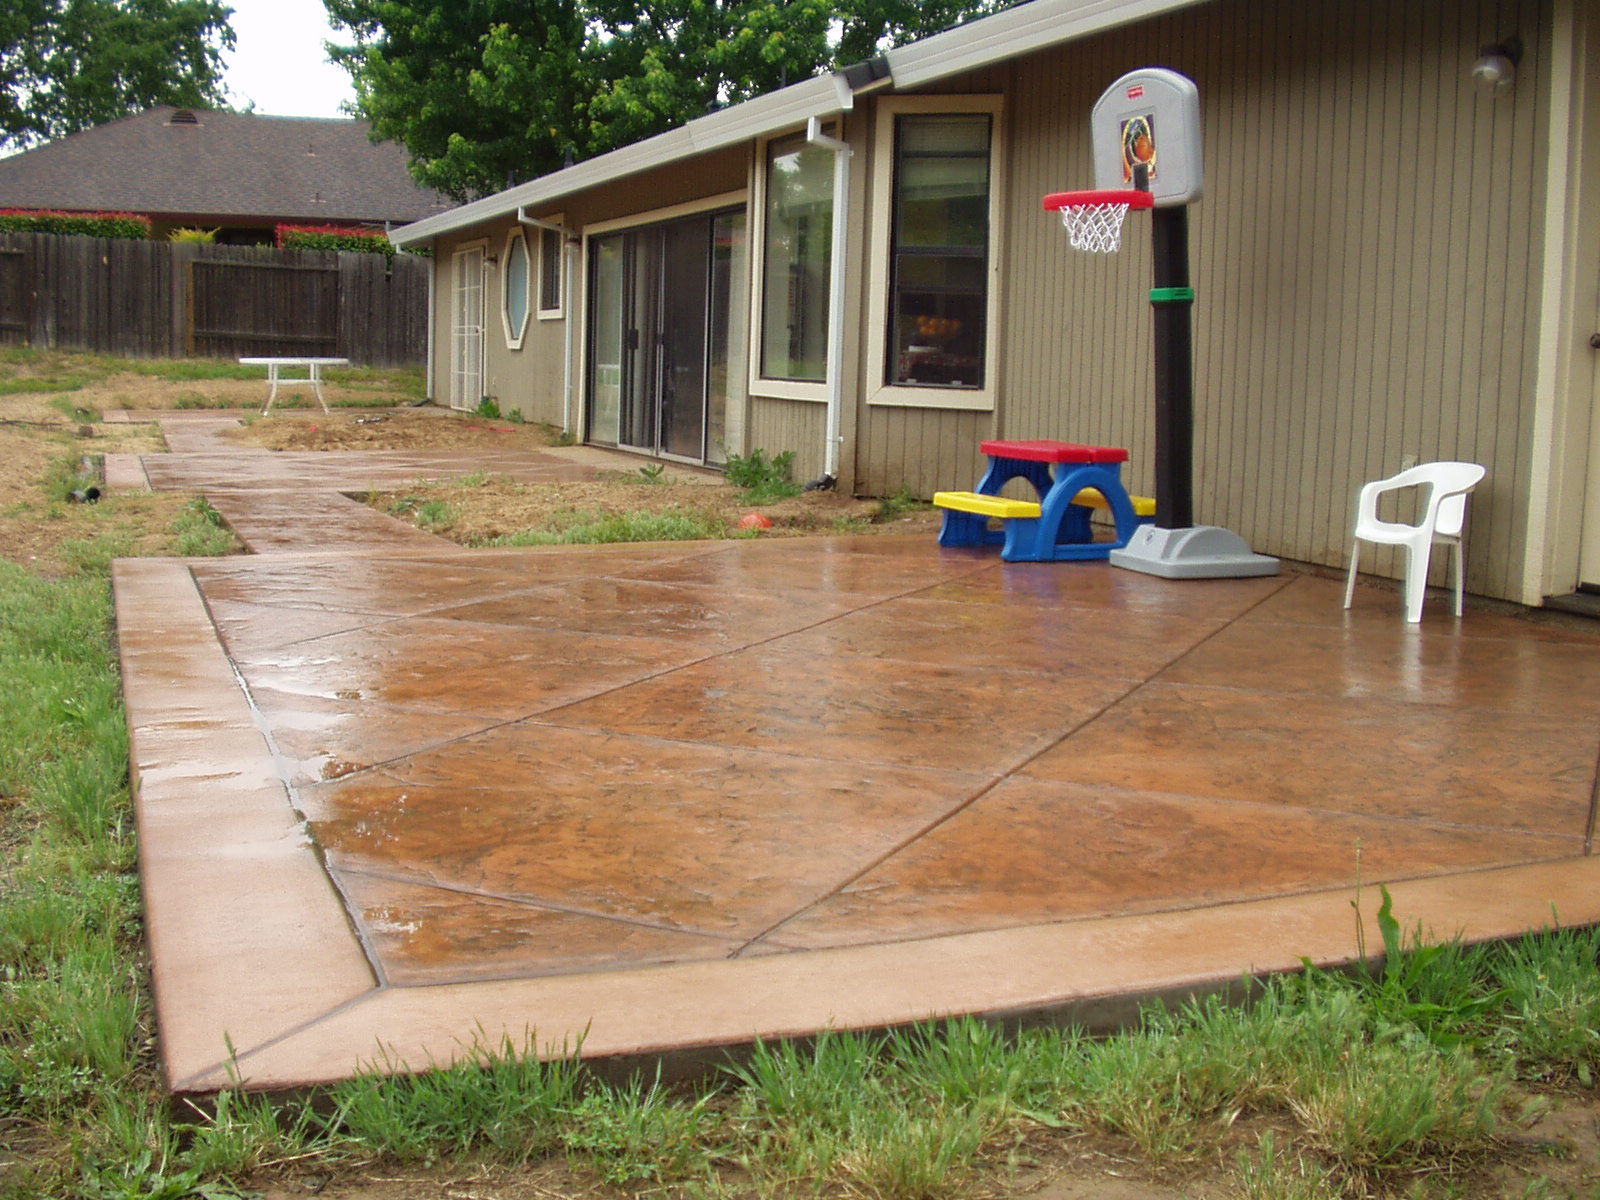
| May 18 2005 |
|
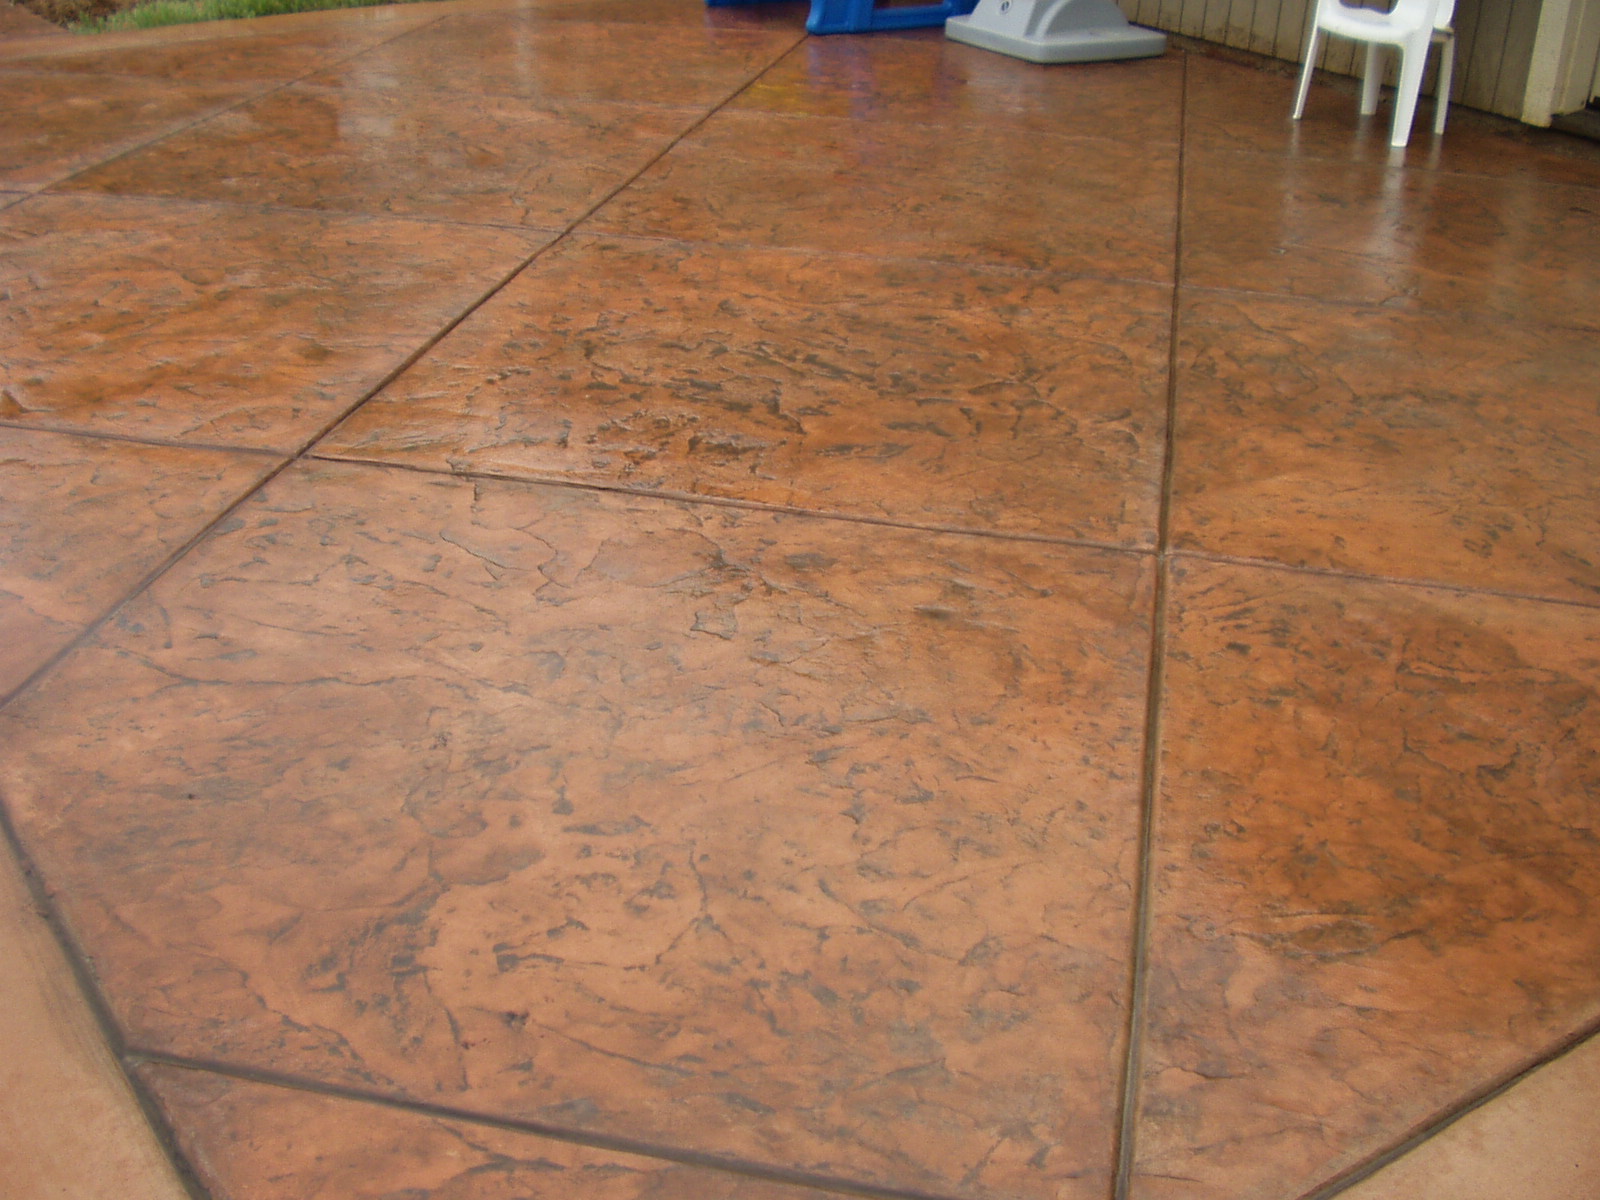
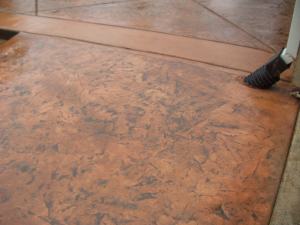
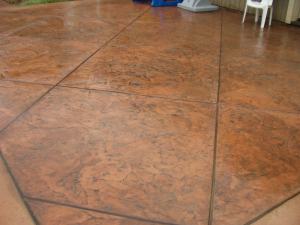
A close-up of the Roman Slate texture and the Sunbaked Clay coloring with Nutmeg Antique release.
|
| May 18 2005 |
|
Another close-up
|